We use cookies to make your experience better. To comply with the privacy directives, we need to ask for your consent to set the cookies. Learn more.

Modern tents really are quite amazing things. The fact you can take a waterproof and breathable shelter out in to the wild that weighs next to nothing shows just how far the technologies utilised in tent manufacture have come on. That said, they're not perfect. One of the weaker points, especially in entry level tents, are the poles and in particular fibreglass poles. While they do offer a fantastic strength to weight ratio at a low price the trade off is that they can and do break. A bout of severe weather or rough handling can leave them bent and/or splintered and leave your tent, well, a bit flat and ruin your camping trip.
But don't let this put you off buying a fibreglass pole tent. As we've already said fibreglass pole tents are great and with a little know how, a broken fibreglass pole is really quite straight forward to replace. Alloy and aluminium poles can also sometimes break and the process of replacing them is exactly the same.
Before we get started it's important to make sure you know the thickness of your tent poles. General widths are 7.9 mm, 8.5 mm, 9.5 mm, 11 mm, and 12.7mm. Full repair kits are available (which will include poles, shock cord and ferules) or parts can be bought individually. We would always recommend taking some sort of repair kit with you when you camping.
Tools needed:
Hacksaw Sandpaper
 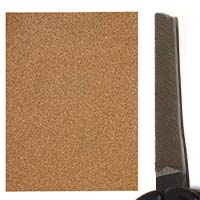 Scissors
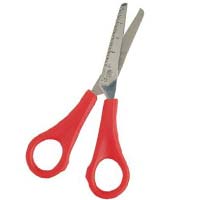
Let's get started!
Step 1: Lay the set of poles out on the ground in front of you.
Step 2: Untie the knot in the shock cord nearest the broken section.
Step 3: Remove each section, keeping them in order until the damaged section is removed.
Step 2: Untie the knot in the shock cord nearest the broken section.
Step 3: Remove each section, keeping them in order until the damaged section is removed.
Step 4: If you tie a knot at this point it will prevent the shock cord further unthreading.
Step 5: Take you replacement pole section and cut it to the same length as the broken section. A fine toothed hacksaw will proved the neatest cut but if out in the field a multi-tool saw blade should do the job.
Step 6: Sand or file the cut end to remove sharp edges that could damage the tent.
Step 7: Now for the fiddly bit. Re-thread the sections, ensuring they are in the right order and tie a knot in the end once completed making sure the shock cord is taught.